
Linux has become too mainstream and standard BSD is a common thing now? How about DragonflyBSD which was created as a fork of FreeBSD 4.8 in conflict over system internals. This tutorial will show how to install it and set up a user-oriented desktop. It should work with DragonflyBSD, FreeBSD and probably all BSDs.
Some background: BSD was is ultimately derived from UNIX back in the days. It is not Linux even though it is similar in many ways because Linux was designed to follow UNIX principles. Seeing is believing, so check out the video of the install!
I did try two BSD distros before called GhostBSD and TrueOS and you can check out my short reviews. DragonflyBSD comes like FreeBSD bare bones and requires some work to get a desktop running.
Download image file and burn to USB drive or DVD
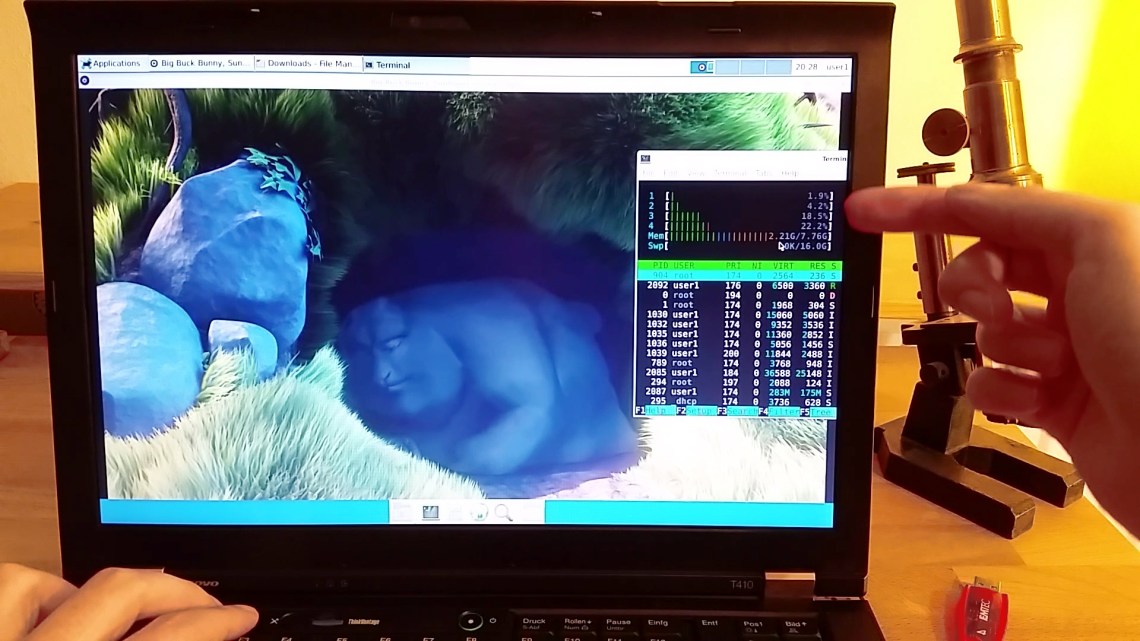
Let’s give it a try on my laptop Lenovo ThinkPad T410 with an older Core i7 and 8GB RAM. Creating a bootable USB drive is probably the easiest start for most users. You can download the latest 300MB compressed .img file from www.dragonflybsd.org and extract it. Download Win32 Disk imager for Windows and burn the .img file to an USB drive and boot from it. You will be able to start into a BSD live session with a command line interface.
First installation
Boot from the USB drive and log in as installer to begin the full installation. Default installation options should work for most users. There are some options that you have to set manually at the end of the installer:
- Set your keyboard profile if you have a non-USA keyboard layout
- Set a password for root (administrator)
- Add a new user with a name and password and assign to him the wheel group in ‘other group memberships’ (important! This is how BSD determines security levels)
- Set the Ethernet device to DHCP (that should be your standard Ethernet device em0) but ignore the lo0 software device or you will be bugged by repeating error messages later on
- Set a hostname of your choice (optional step?)
Reboot and remove the USB drive to start from your disk.
Setting up the system and installing a desktop
After rebooting from your disk, log in as the newly created user (this might work as well if you log in as root). Type su and confirm with the root password to get root privileges. You will have to do that before every install or system-file editing
su
Upgrade your system. This requires a working internet connection which should work fine because we set up Ethernet before. All installations require an additional y to confirm when asked.
pkg upgrade
Install the Xorg window manager.
pkg install xorg
Install the xfce desktop.
pkg install xfce
Install the nano text editor.
pkg install nano
It is probably, alternatively possible to install these three programs using a single command: pkg install xorg xfce nano
Reboot the machine by typing reboot and log in again as the user. We have to edit a text file called rc.conf using the following command (DOS users might remember editing config.sys).
su
nano /ect/rc.conf
Add the following lines at the end of this file and save & exit by pressing Ctrl+X. These lines enable necessary system tools and mouse & touchpad (for PS/2, might be different for USB mice).
dbus_enable=”YES”
hald_enable=”YES”
moused_enable=”YES”
Reboot again by typing reboot. Log in again as the user and start the desktop by typing startxfce4.
startxfce4
Inside the desktop
And we should be in the desktop environment but our work continues. Note that some changes might be specific to my hardware.
Install some more programs
You might to to set the keyboard layout again in the settings menu if you have a non-USA keyboard. Use the inbuilt command line tool like “Terminal emulator” or “xterm” to install software. Some programs you might want to have:
su
pkg install firefox libreoffice gimp vlc mpv htop
How to enable sound?
Edit the file /boot/loader.conf using the nano text editor in the terminal.
su
nano /boot/loader.conf
Add the following lines to the file and save with Crtl+X and reboot your machine.
snd_hda_load=”YES”
snd_uaudio_load=”YES”
This did enable sound on my laptop over device 0 which is the headphone jack but not on my speakers. To check the available audio devices type this into the terminal.
cat /dev/sndstat
To change the audio output to device 1 type the following line into the terminal. This is specific to my hardware and can be different on your machine.
sysctl hw.snd.default_unit=1
You can install a graphical audio mixer like xfce4-mixer.
su
pkg install xfce4-mixer
Let’s play some free games
Install games using the terminal. Note that I got bad frame rates when loading some of these games from the start menu. I had to use the terminal and type su before and start the game from the terminal with root privileges. This might also work if you log in as root before you start the desktop. Some of these games require OpenGL but it worked fine even on this older ThinkPad with the Intel gpu.
su
pkg install chocolate-doom assaultcube openttd warzone2100
Setup WiFi
You can install a graphical WiFi manager like wifimgr.
su
pkg install wifimgr
If the WiFi manager doesn’t find your device you should type this command to see if a device is active at all.
sysctl net.wlan.devices
Considering the range of devices and options, I can’t tell you how this works in your specific case, but if you came so far you have at least Ethernet and I hope you can search for a solution.
Power mode settings
You should consider activating power saving options in particular if you are on a laptop. These commands come from FreeBSD and I am not certain if there is a difference to DragonflyBSD here. Add the following lines to the file /ect/rc.conf using the nano editor and reboot. This should enable appropriate power mode settings for a=ac-power and b=battery.
powerd_enable=”YES”
powerd_flags=”-a hiadaptive -b adaptive”
I did not find a graphical battery meter but typing apm showed the remaining charge.
apm
Add the following line to the file /etc/sysctl.conf using the nano editor again and reboot. This should enable suspend mode when closing the laptop lid.
hw.acpi.lid_switch_state=S3
More to do?
You can check out this blog post if you want a much more detailed tutorial. If you don’t mind standard BSD, get the GhostBSD distro instead which comes with a ready-made desktop xcfe or mate and many functional presets.
A small summary of what we got on the upside:
- Free and open source operating system with a long history
- Drivers worked fine including Ethernet, WiFi, video 2D & 3D, audio, etc
- Hammer2 advanced file system
- You are very unique if you use this OS fork
Some downsides:
- Less driver and direct app support than Linux
- Installer and desktop have some traps and quirks and require work
Thanks for reading! You can check out more of this blog or my YouTube channel

Thanks for your posting. What I want to say is that while looking for a good online electronics go shopping, look for a site with comprehensive information on critical factors such as the security statement, safety measures details, payment methods, and other terms as well as policies. Often take time to see the help and FAQ sections to get a superior idea of what sort of shop operates, what they are able to do for you, and in what way you can make best use of the features.
LikeLike
Thanks for your tips about this blog. Just one thing I would choose to say is always that purchasing gadgets items in the Internet is not something new. In truth, in the past 10 years alone, the market for online electronic devices has grown drastically. Today, you will discover practically virtually any electronic tool and tools on the Internet, ranging from cameras along with camcorders to computer parts and game playing consoles.
LikeLike
I’ve been browsing online more than three hours today, yet I never found any interesting article like yours. It is pretty worth enough for me. Personally, if all website owners and bloggers made good content as you did, the web will be a lot more useful than ever before.
LikeLike